Hocus Pocus Halloween Cookies – A Fun and Festive Treat
When October arrives, and the air fills with crispness, cozy sweaters come out, and spooky decorations begin to haunt every corner, it’s time to let the Halloween magic unfold in your kitchen. And what better way to cast a spell of delicious fun than with Hocus Pocus Halloween Cookies? Inspired by the cult classic movie and the beloved Sanderson Sisters, these cookies are whimsical, vibrant, and just the right amount of spooky to delight witches and warlocks of all ages.
Whether you’re hosting a Halloween party, planning a movie night with friends, or simply want to treat the family to something festive, these cookies are a show-stopping sweet that blend flavor, artistry, and holiday spirit into one perfect bite.
Why Hocus Pocus Cookies?
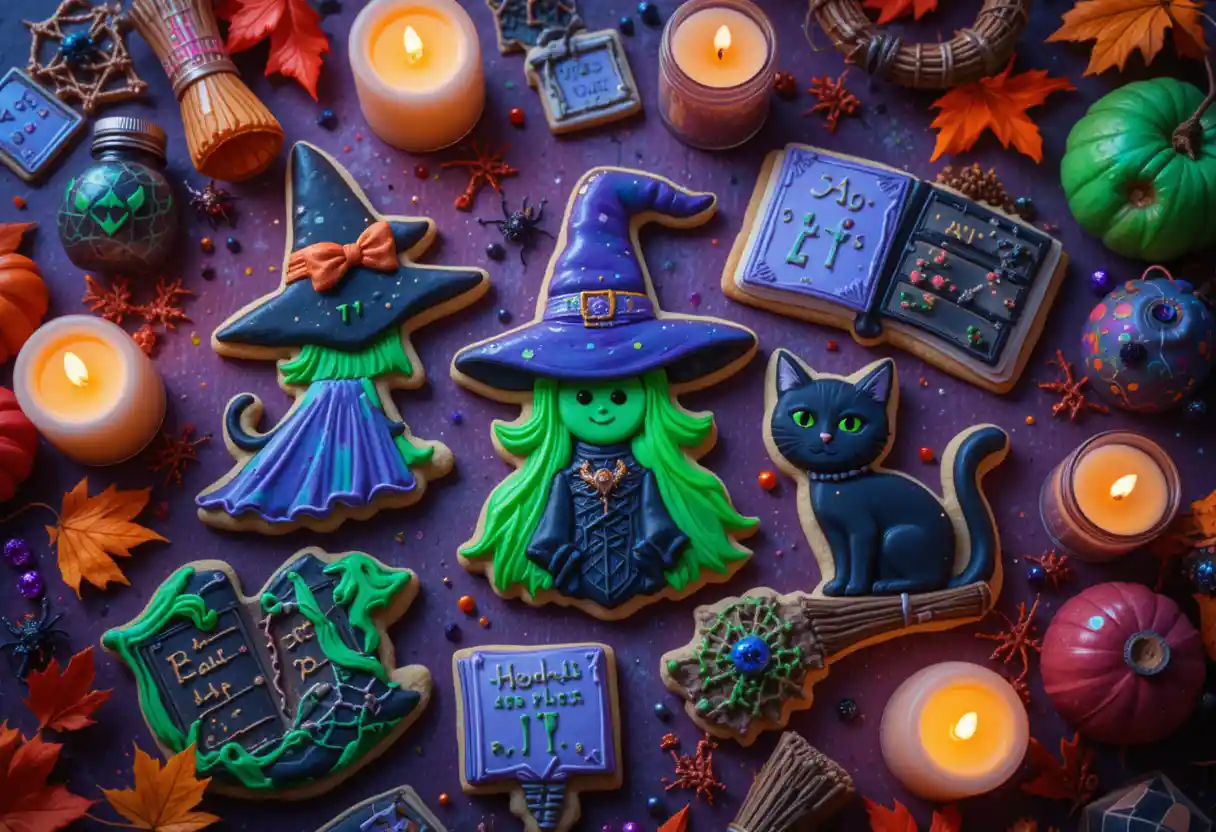
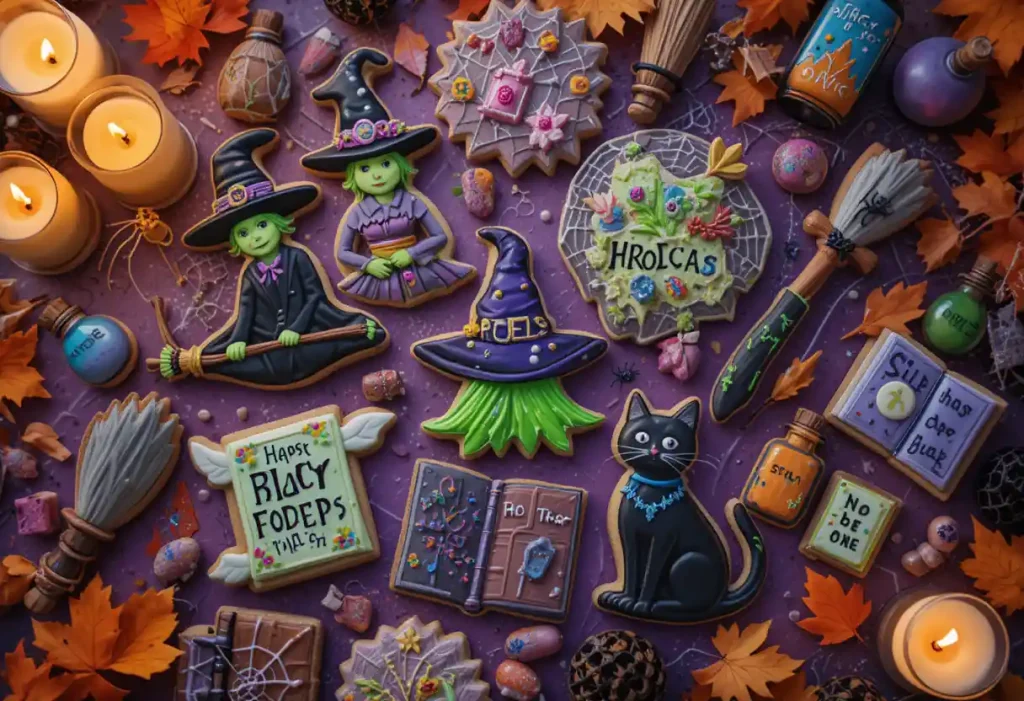
The film Hocus Pocus has become a Halloween staple, adored for its quirky charm, memorable characters, and iconic witchy trio: Winifred, Sarah, and Mary Sanderson. These cookies are a visual and flavorful homage to the movie — think colors like purple, black, green, and orange, mystical sparkles, and playful shapes that mimic spell books, witch hats, cauldrons, and even the sisters themselves.
What sets Hocus Pocus cookies apart from regular Halloween cookies is the storytelling element. Each cookie can be customized to reflect a part of the movie, making them a fun creative project as much as they are a treat.
Ingredients That Work Like Magic
While the decoration is what gives Hocus Pocus cookies their charm, it’s the cookie base that ensures they taste just as good as they look. Here’s what you’ll need for the cookie dough:
For the Cookie Dough:
- 2 ½ cups all-purpose flour
- 1 tsp baking powder
- ½ tsp salt
- 1 cup unsalted butter, softened
- 1 cup granulated sugar
- 1 large egg
- 1 ½ tsp vanilla extract
- ½ tsp almond extract (optional, for depth of flavor)
For Decorating:
- Royal icing in black, purple, orange, green, and white
- Edible glitter or shimmer dust
- Halloween sprinkles
- Black edible marker
- Piping bags and fine tips
- Optional: mini chocolate chips, candy eyes, fondant for 3D decorations
Crafting the Perfect Cookie Dough
Start by whisking the flour, baking powder, and salt in a medium bowl. In a large mixing bowl, cream the butter and sugar until light and fluffy, which should take about 2–3 minutes. Beat in the egg, vanilla, and almond extract until combined. Gradually add the dry ingredients, mixing on low until just incorporated. Avoid overmixing, as that can make the cookies tough instead of soft and tender.
Chill the dough for at least 1 hour. This is a crucial step — it helps the dough firm up, making it easier to roll and cut into precise shapes. It also prevents the cookies from spreading too much while baking.
Shaping the Magic
Roll the chilled dough on a lightly floured surface to about ¼ inch thickness. Using Halloween-themed cookie cutters, cut out shapes like witch hats, spell books, brooms, cauldrons, and stars. You can also use basic circles or rectangles to later decorate with hand-piped faces or text referencing Hocus Pocus quotes like “I smell children” or “Amok, amok, amok!”
Transfer the cookies to a parchment-lined baking sheet and chill again for 10–15 minutes before baking — this second chill helps maintain sharp edges.
Bake in a preheated oven at 350°F (175°C) for 8–10 minutes or until the edges just start to turn golden. Let them cool completely before decorating.
Enchanting Icing Techniques
Decorating these cookies is where your creativity really gets to shine. Using royal icing in Halloween colors, you can go simple with outlines and flooding techniques, or more advanced with layers, textures, and piping details.
Witch Hat Cookies:
Flood the entire surface with black icing and let it dry. Pipe purple or green bands around the base and add a gold buckle using shimmer dust or yellow icing. Add a few candy stars or glitter for a mystical look.
Sanderson Sister Faces:
Use round or oval cookies as the canvas. Flood the base with flesh-toned icing. Once dry, use colored icing and an edible marker to add signature hair styles — red curls for Winifred, long blond locks for Sarah, and dark purple hair for Mary in her twisted bun. Tiny eyes and mouths give them personality.
Spell Book Cookies:
Rectangle cookies work great here. Ice them in a dark brown or black shade. Once dry, pipe “stitches” around the border and add a fondant “eye” to mimic the creepy spell book. Use an edible marker to add tiny faux pages or ancient runes for extra effect.
Cauldron Cookies:
Black icing floods the main shape. Add green bubbling “slime” using piped dots and shimmer dust. You can even stick on candy eyes to make the potion come alive!
Adding That Halloween Flair
For extra Halloween charm, scatter edible glitter, candy eyeballs, and themed sprinkles across some cookies. You can even drizzle melted white chocolate dyed green or purple over cookies for a fun “slime drizzle” effect.
Want to go a step further? Package the cookies in clear cellophane bags tied with orange or black ribbon and little Hocus Pocus quote tags. They make perfect party favors or trick-or-treat goodies.
Baking With Kids or Hosting a Cookie Party
These cookies make an amazing activity for a Halloween party or a movie night. Set up a decorating station with pre-baked cookies, bowls of royal icing in squeeze bottles, sprinkles, and fun toppings. Play the Hocus Pocus movie in the background and let everyone create their own magical cookie designs.
It’s a fantastic way to combine creativity and sweets while making long-lasting fall memories.
Gluten-Free or Vegan Options
For those with dietary restrictions, the recipe can be adapted easily. Use a 1:1 gluten-free flour blend to make the dough gluten-free, and replace butter and egg with plant-based alternatives (like vegan butter and a flax egg) for a fully vegan version. Royal icing can be made with aquafaba instead of egg whites.
The key is to keep the dough chill and adjust as needed to get the perfect rollable consistency.
Storing and Serving
These cookies stay fresh for up to one week when stored in an airtight container at room temperature. If decorated with royal icing, allow them to fully dry (usually overnight) before stacking or packaging.
You can also freeze undecorated cookies for up to 2 months. Just thaw and decorate closer to Halloween for fresh-from-the-oven vibes without the rush.
Wrapping Up the Magic
Hocus Pocus Halloween Cookies are more than just a treat — they’re a festive, flavorful way to bring spooky joy into your home. Each cookie becomes a canvas for creativity, a bite of nostalgia, and a piece of Halloween spirit. Whether you make them for a party, to surprise friends and family, or simply to celebrate your love of the season and the movie, one thing is certain:
They’ll cast a delicious spell on everyone who tries them.
So grab your cauldron (or mixing bowl), channel your inner Sanderson Sister, and get ready to whip up some witchy wonders — because Halloween isn’t complete without a little Hocus Pocus in the kitchen!