Homemade Cherry Pie Filling – The Secret to a Perfect Pie
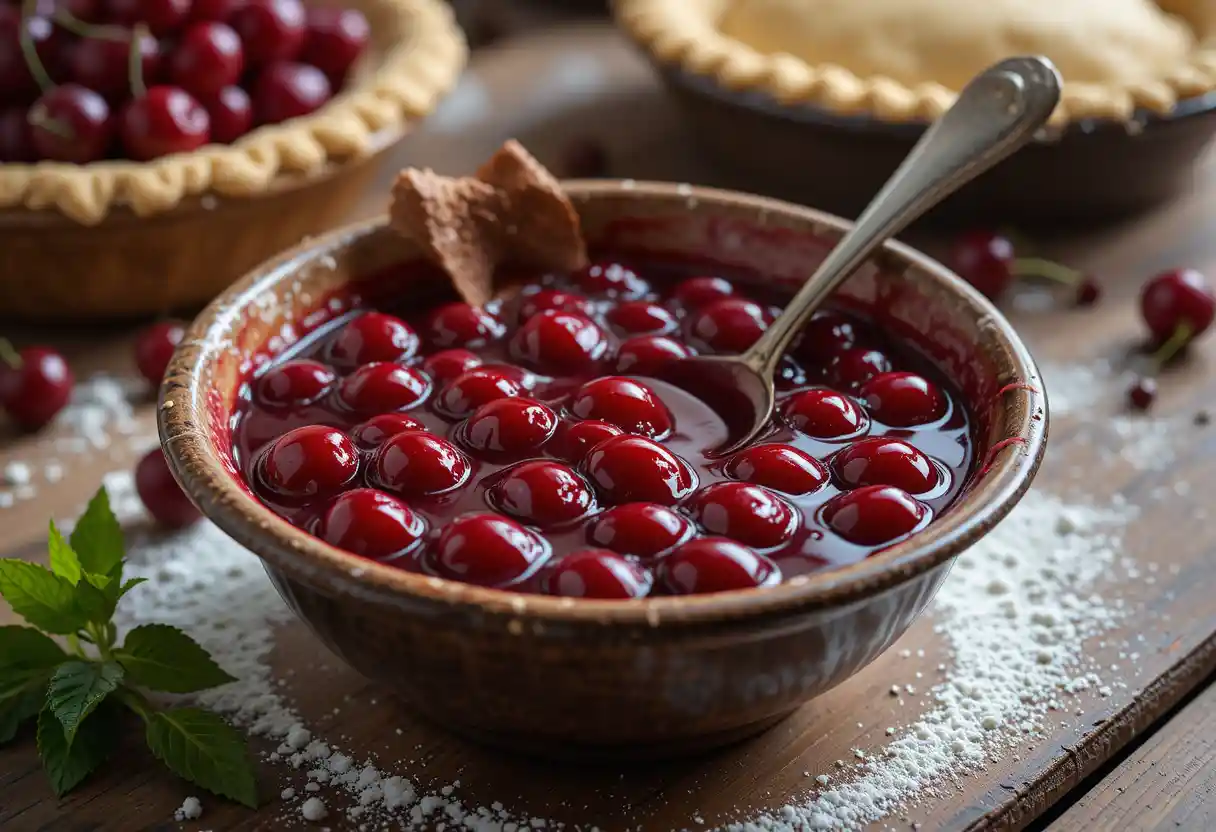
When it comes to making the perfect cherry pie, the filling is undoubtedly the star of the show. A sweet, tangy, and slightly tart cherry filling encased in a flaky, golden crust is a timeless dessert that never goes out of style. While store-bought cherry pie filling can be convenient, there’s nothing quite like the flavor and texture of a homemade cherry pie filling.
Making your own cherry pie filling gives you full control over the flavor, sweetness, and consistency. Whether you’re using fresh cherries in the summer or frozen cherries during the colder months, this homemade filling is sure to elevate your pie to new heights. In this blog post, we’ll walk you through the steps to make the perfect homemade cherry pie filling, as well as share tips for using it in different desserts.
Why Choose Homemade Cherry Pie Filling?
Before we dive into the recipe, let’s first explore why making homemade cherry pie filling is so much better than relying on store-bought options.
1. Better Flavor
The most obvious advantage of homemade cherry pie filling is the superior flavor. When you make your own filling, you have the freedom to adjust the sweetness, acidity, and flavor profile to your liking. You can use fresh or frozen cherries that are perfectly ripe, ensuring that the filling is bursting with vibrant, natural cherry flavor.
2. No Artificial Additives
Many store-bought cherry pie fillings contain artificial flavors, colors, and preservatives. By making your own filling, you avoid all of these unwanted additives, giving you a healthier and more authentic cherry filling.
3. Customizable Texture
Homemade cherry pie filling allows you to control the texture of the cherries and the consistency of the filling. You can decide whether you want a thick, jam-like filling or a more syrupy consistency, making it easy to tailor the recipe to your preferences.
4. Freshness
Using fresh or frozen cherries ensures that the filling is as fresh as possible. The vibrant, juicy cherries make the pie filling stand out, giving it a homemade touch that store-bought fillings simply can’t replicate.
Ingredients for Homemade Cherry Pie Filling
To make the perfect cherry pie filling, you’ll need the following ingredients:
For the Pie Filling:
- 4 cups fresh or frozen cherries (pitted)
- 1 cup granulated sugar (adjustable based on sweetness preference)
- 1/4 cup cornstarch (to thicken the filling)
- 1 tablespoon fresh lemon juice (to balance sweetness and enhance flavor)
- 1/2 teaspoon vanilla extract (for depth of flavor)
- 1/4 teaspoon almond extract (optional, adds a lovely nutty undertone)
- 1/4 teaspoon ground cinnamon (optional, enhances the overall flavor)
- 1/8 teaspoon salt (balances the sweetness)
- 2 tablespoons unsalted butter (optional, adds richness and flavor)
For the Pie Crust:
For the homemade cherry pie filling to truly shine, you’ll need a flaky pie crust. You can use store-bought crusts for convenience or opt for a homemade version, such as the one found below:
- 2 1/2 cups all-purpose flour
- 1 teaspoon salt
- 1 tablespoon sugar
- 1 cup (2 sticks) unsalted butter, cold and cut into small cubes
- 1/4 cup ice water (more or less as needed)
Step-by-Step Instructions to Make Homemade Cherry Pie Filling
Now that we’ve gathered all the ingredients, let’s begin making the homemade cherry pie filling from scratch. Follow these steps for a perfect cherry pie filling every time.
Step 1: Prepare the Cherries
If you’re using fresh cherries, start by pitting them. You can do this manually with a cherry pitter or by cutting them in half and removing the pits. If you’re using frozen cherries, there’s no need to thaw them beforehand, but it’s best to drain any excess liquid before adding them to the filling.
Step 2: Combine the Ingredients
In a medium saucepan, combine the cherries, sugar, cornstarch, lemon juice, vanilla extract, almond extract (if using), cinnamon, and salt. Stir everything together gently to coat the cherries with the dry ingredients and ensure the sugar and cornstarch are evenly distributed.
Step 3: Cook the Filling
Place the saucepan over medium heat. As the cherries begin to release their juices, stir the mixture frequently to prevent any lumps from forming. Continue to cook for about 5-7 minutes, or until the filling begins to thicken.
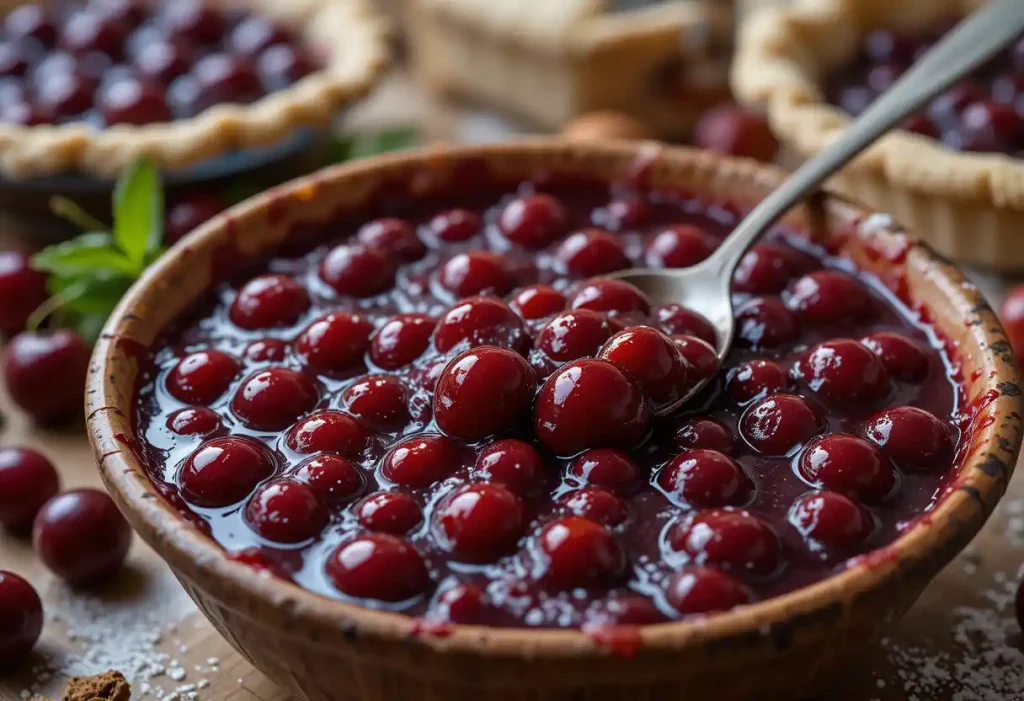
The cornstarch will start to work, and the filling will have a glossy, thickened texture. At this point, you can add the butter for richness, stirring until it melts completely into the filling.
Step 4: Adjust the Consistency
If the filling is too thick, add a small amount of water or cherry juice to reach your desired consistency. If the filling is too runny, continue to cook for a few more minutes until it thickens to your liking. Keep in mind that the filling will thicken further as it cools.
Step 5: Cool the Filling
Once the filling has reached the right consistency, remove it from the heat and let it cool completely. It’s important to let the filling cool before adding it to the pie crust, as hot filling can cause the crust to become soggy.
Tips for Using Homemade Cherry Pie Filling
Once your cherry pie filling is ready, it’s time to incorporate it into your pie. Here are a few tips for achieving the perfect cherry pie:
1. Pre-Bake the Pie Crust
To prevent the bottom crust from becoming soggy, consider blind baking the bottom crust before adding the filling. This helps to set the crust and gives it a crispy, golden texture. Simply bake the crust for about 10 minutes before filling it with the cherry mixture.
2. Use the Filling in Other Desserts
This homemade cherry pie filling isn’t just limited to pies! You can also use it as a topping for cheesecakes, pancakes, waffles, or ice cream. It’s a versatile and delicious addition to many desserts.
3. Adjust the Sweetness
Everyone’s taste preferences are different, so feel free to adjust the amount of sugar in your filling. If you prefer a more tart pie, use less sugar; if you like it sweeter, add a bit more.
4. Add Spice
For a deeper, spicier flavor, try adding a pinch of ground ginger, cloves, or nutmeg. These spices complement the cherries beautifully and add an extra layer of complexity to the filling.
5. Storage Tips
You can make the cherry pie filling ahead of time and store it in an airtight container in the refrigerator for up to three days. If you want to store it for longer, you can freeze the filling for up to six months. Just be sure to let it cool completely before storing.
How to Assemble the Cherry Pie
Once your cherry pie filling is ready and cooled, it’s time to assemble your pie. Follow these steps to create a classic, homemade cherry pie:
- Roll out the bottom pie crust and place it in a 9-inch pie dish.
- Fill the crust with the homemade cherry pie filling, spreading it evenly.
- If you’re making a top crust, roll out the dough and place it over the pie. You can create a lattice design for a decorative touch or cover the pie with a whole top crust and make a few slits for steam to escape.
- Brush the top crust with a beaten egg wash (1 egg mixed with 1 tablespoon of water) for a golden, glossy finish.
- Bake the pie at 400°F (200°C) for 45-50 minutes, or until the crust is golden brown and the filling is bubbling.
Let the Pie Cool
Once the pie is done, allow it to cool for at least 2-3 hours before slicing. This helps the filling set and prevents it from running out when you cut into it.
Conclusion
There’s something truly special about a homemade cherry pie, and the key to its success lies in the filling. By using fresh cherries, simple ingredients, and a bit of patience, you can create a delicious cherry pie filling that will take your pie to the next level. Whether you’re making a classic cherry pie for the holidays or using the filling in other desserts, this homemade recipe is a must-try for any pie lover.
Next time you’re craving a sweet, tart, and indulgent cherry dessert, make sure to whip up this homemade cherry pie filling. It’s the perfect base for a timeless, crowd-pleasing treat.